A commercial demo is the first real step for anyone who wants to enter the voiceover world. It is the sample potential clients listen to when deciding whether you match the tone and style they need. For newcomers, a professionally produced demo can feel out of reach because of cost. This is why many performers begin with a do-it-yourself version. A DIY demo allows you to learn recording basics, understand how commercial spots are built, and gather enough experience to start booking smaller jobs. The key is knowing where this type of demo works, where it does not, and how to build one that still represents you well.
The transcript you provided explains clearly that a DIY demo is suitable for platforms such as Fiverr, Upwork, and ACX . These sites allow beginners to gain early experience while improving their skills. It should never be used for agencies, production houses, or direct marketing of any kind because those buyers compare every submission to top-tier professional demos. Reddit discussions share the same message. Several posters mention that beginners often misunderstand the purpose of a first demo and expect it to launch a professional career overnight. A starter reel is a training tool. It gives you a place to begin, not a shortcut to high level work.
Choosing the Right Focus for a Commercial Demo
Beginners sometimes struggle with deciding which type of demo to create first. The transcript makes this step simple. A commercial demo is usually the strongest starting point because it shows a wide range of styles within a single minute and matches what most clients search for early in your journey . Commercial reads can shift from friendly to confident to caring while still feeling natural. That range matters because not every brand wants the same type of delivery. Automotive campaigns like Ford F-150 and Ram truck commercials, for instance, often depend on a professional commercial male voice actor who can project strength, confidence, and reliability without sounding overly theatrical. This variety helps clients understand how versatile you are.
It is important to keep one genre per demo. Mixing commercial reads with character voices or narration can confuse the listener. Reddit posts point out that new talent often tries to include every skill in one reel, which weakens the impact. A focused commercial demo is easier to follow and easier for potential clients to evaluate. Once you grow more comfortable, you can create separate demos for other categories such as character work or long-form narration. In the very beginning, one solid commercial demo is enough.
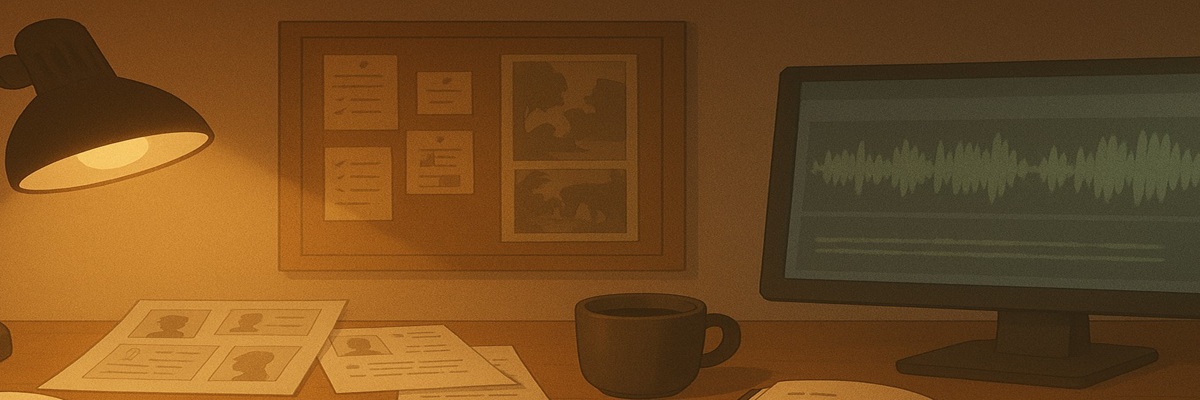
Building the Demo: Scripts, Recording Setup, Performance, and Editing
Creating a commercial demo requires planning, clarity, and patience. Much of the step-by-step process is covered in the transcript.
The first step is gathering scripts. YouTube is an excellent resource because you can find real commercials that match products you use in your daily life. The transcript recommends choosing brands that feel familiar so your reads sound more natural . Once you find a commercial that suits your voice, you can use the transcript feature on YouTube to pull the text. This helps you study how that spot is structured before recording your version.
Aim for five or six clips, each about ten to fifteen seconds, with a total runtime between one minute and one minute fifteen seconds. Include a range of styles. The transcript describes several common choices such as conversational, high energy, warm, rugged, or sincere . The goal is a compact sample that keeps the listener interested from start to finish.
For recording, you need a quiet space, a microphone suited for voice work, and a digital audio workstation. The transcript explains that you should record several takes for each script and keep only the strongest read . Some beginners choose to combine parts from different takes to create one polished clip. This is normal and helps you maintain the best possible performance.
After recording, it is time to add music and sound effects. These elements should always support your voice, never compete with it. The transcript warns that many beginners raise the music volume too high and the words become difficult to hear. Less volume is usually the safer choice when mixing background tracks . You can find free music in the YouTube audio library, and free sound effects on sites such as freesound.org. The aim is to match the feel of the original commercial without copying it directly.
Once each clip is complete, you will select the best segments and arrange them into a single timeline. Start with your strongest read to catch the listener’s attention immediately. Arrange the rest so each clip offers a different style from the one before it. Your editor should allow crossfades between clips so the transitions feel natural. This avoids the abrupt silence that can break the flow of a demo.
The transcript also addresses legal concerns regarding the use of real commercial scripts or short visual references. It explains that using very small sections of content for demonstration purposes qualifies under fair use because you are not profiting from the original product . This is a common practice among beginners creating a first demo.
Final Assembly, Exporting, and Knowing When to Upgrade
Once the demo sounds complete, export it in both WAV and MP3 formats. Some sites only accept MP3s, while a WAV file gives you a higher quality option when needed. Upload your demo to the freelance platforms mentioned earlier and begin gathering small projects that will help you refine your craft.
Your first DIY demo is not a permanent reel. It should evolve as you train, review feedback, and improve your performance skill. The transcript highlights the value of replacing weaker clips and repositioning stronger ones as your sound develops over time .
When your bookings increase and your confidence grows, that is the moment to invest in a professionally produced demo. At that stage, you will understand your strengths, your preferred styles, and how commercials are shaped from script to final mix. That knowledge makes your professional demo much stronger and helps you step into higher-level markets that expect polished, broadcast-ready work.
Creating your own commercial demo is a simple way to start your voiceover journey with purpose and direction. With careful preparation and patience, it becomes a reliable foundation for future growth.